


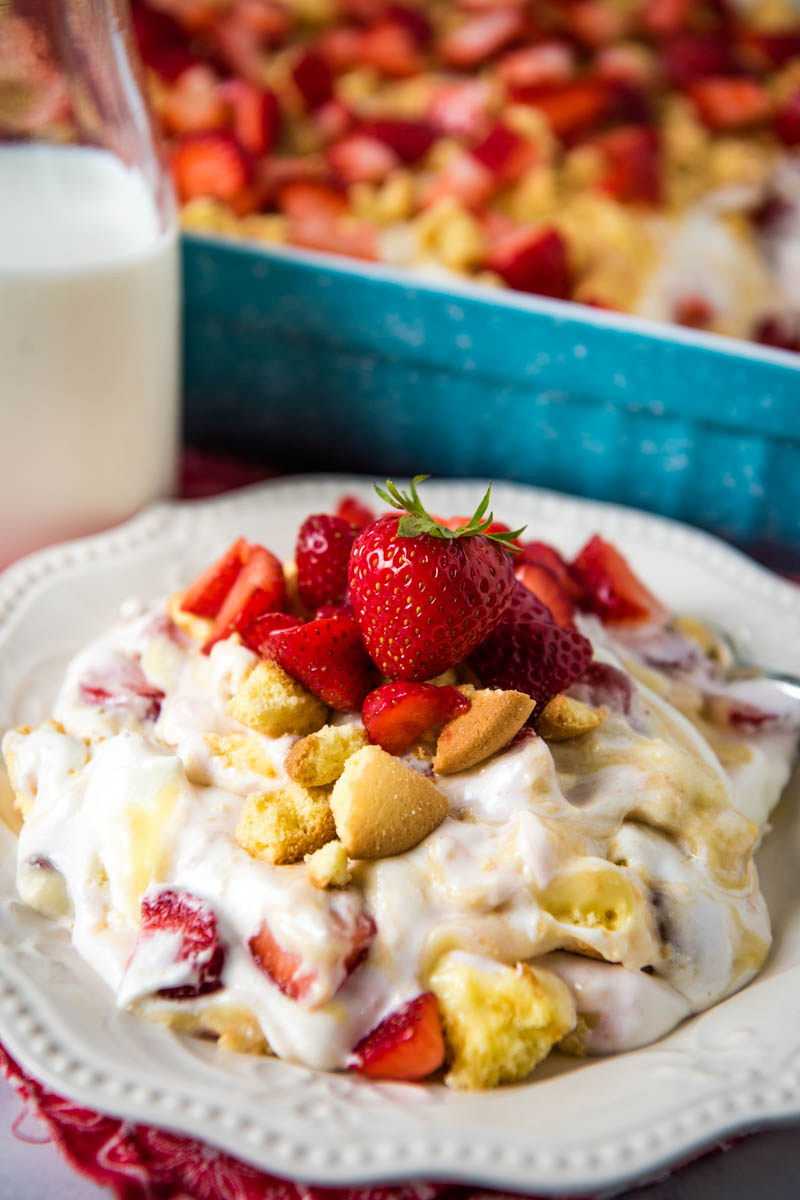
How to make a quick and easy no bake strawberry shortcake lush recipe with vanilla wafers, fresh berries, creamy vanilla pudding and a fluffy whipped topping. Make this luscious, old fashioned layered dessert ahead of time to feed a crowd!
My family always makes classic strawberry shortcake every year once strawberry season rolls around. But I find myself making this no bake strawberry shortcake recipe way more often simply because it’s so much easier to make. All of the ingredients are layered in one pan, and by using vanilla wafers, I don’t even have to make biscuits or bake a crust.

There is something so refreshing about layers of cold vanilla pudding with freshly chunked and sliced strawberries and that cream cheese Dream Whip filling that makes the heart go pitter-patter. This strawberry shortcake lush is perfect for picnics, potlucks, family gatherings, 4th of July parties or even just as an easy homemade weeknight dessert!
Ingredients & Substitutions Notes
- Whipped Topping – I use Dream Whip whipped topping mix, but any whipped topping will work. Many of my readers have reported that Cool Whip and homemade whipped cream work just fine as well!
- Milk – I use whole milk, but 2% milk and even skim milk will also work.
- Vanilla Extract – I like to add a splash of vanilla to the Dream Whip for a little bit of extra flavor. Lately I’ve really been enjoying the flavor of this Mexican vanilla…
- Cream Cheese – You’ll need a block of full-fat cream cheese for the creamy filling layer in this strawberry lush cake.
- Vanilla Instant Pudding Mix – Vanilla pudding is the secret ingredient to this no bake strawberry shortcake. TIP: Make this a strawberry cheesecake lush by using cheesecake instant pudding mix!
- Vanilla Wafers – For the sake of ease, this recipe uses whole vanilla wafers as the bottom layer of this strawberry lush cake instead of a traditional crust, sort of like my no bake banana pudding.
- Strawberries – Last but not least, you’ll need plenty of fresh, sliced strawberries for this strawberry dessert.
Remember, all of the ingredient amounts you’ll need are in the printable recipe card below.
How to Make No Bake Strawberry Shortcake Lush Dessert
Before getting started, be sure to get out your cream cheese ahead of time, so it can soften. Then wash the strawberries. I like to wash mine in a vinegar and water solution before rinsing them off with water…
Once washed, use a small paring knife to hull your berries. You’ll need to slice a few for the filling, and then chunk a few for the topping.
How to Make the Whipped Topping
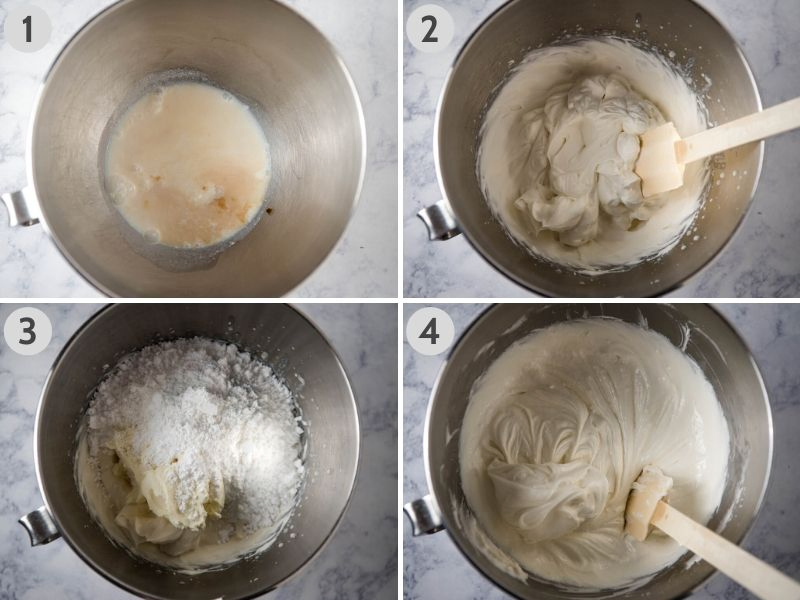
- Start by adding the Dream Whip, milk, and vanilla to a large mixing bowl.
- Whisk them together with an electric hand mixer, according to package directions, ’til the mixture begins to form soft peaks; it’ll take about 4 minutes. You can also use an electric stand mixer for this step.
- In a separate bowl, whip up the cream cheese ’til soft and creamy. Then add both the cream cheese and the powdered sugar to the Dream Whip mixture.
- Whisk everything together for about 3 to 5 minutes, or ’til smooth and creamy.
Mixing Up the Vanilla Pudding
- Add both pudding mixes and the milk to another large bowl.
- Whisk them together for about 2 minutes, and let sit for 3 to 5 more minutes. The pudding will continue to thicken up as it sets.

How to Assemble Your No Bake Strawberry Shortcake Layered Dessert
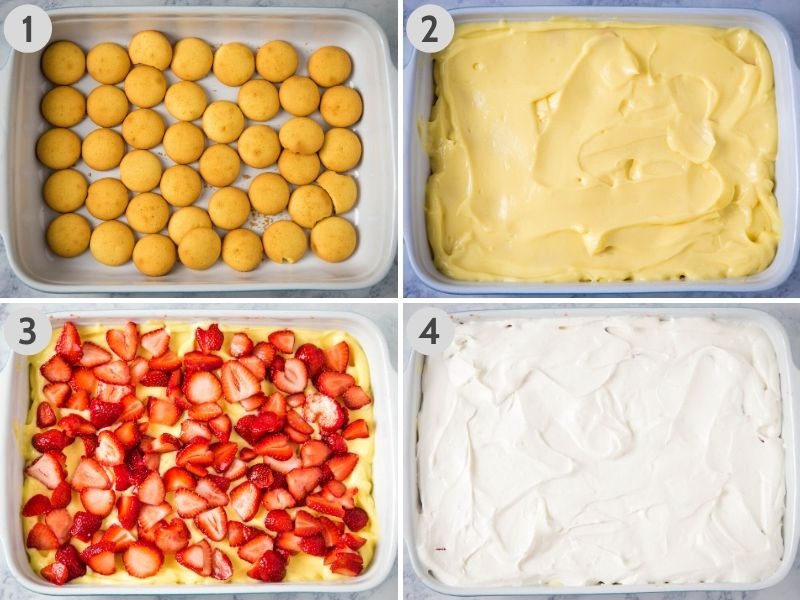
- Now, you’re ready to layer the vanilla wafers on the bottom of a 9×13 baking dish.
- Use a scraper spatula to spread the vanilla pudding over the vanilla wafers.
- Next, add a layer of sliced strawberries on top of the pudding.
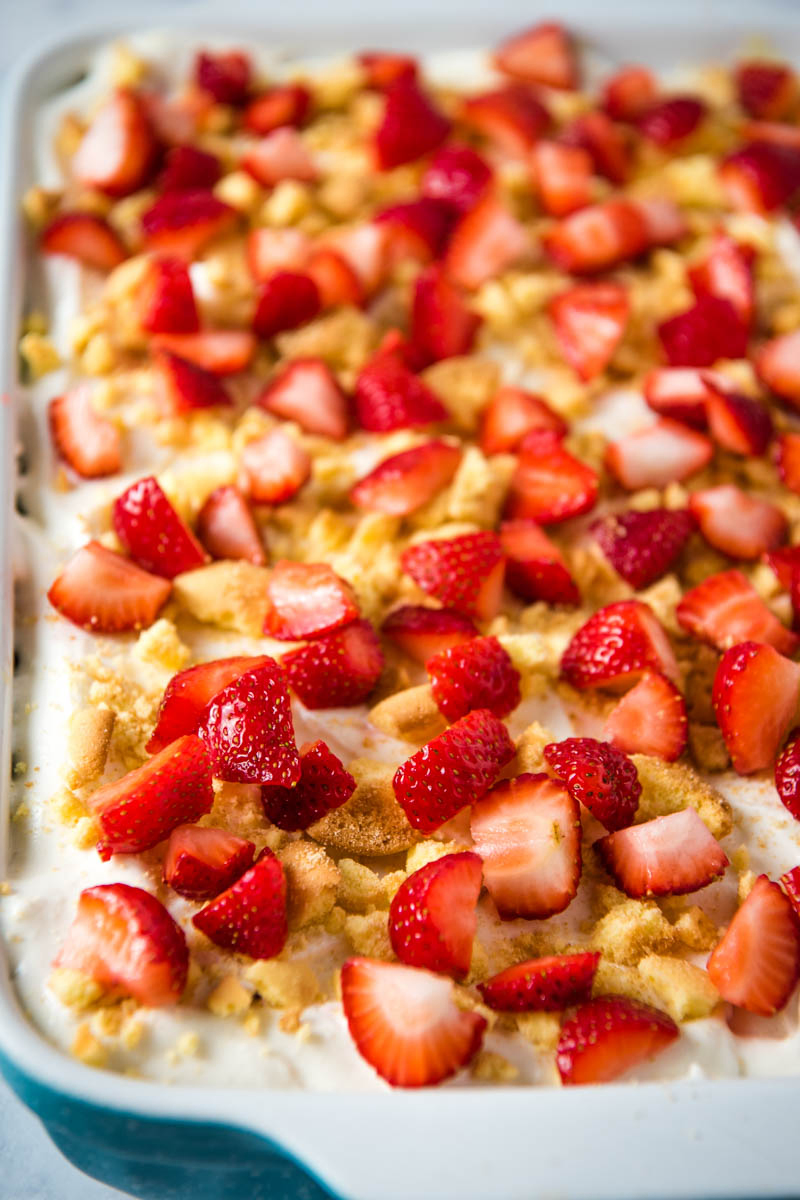
- Finally, spread a final layer of Dream Whip on top of the strawberries.
Now you need to cover your strawberry lush cake with plastic wrap and refrigerate for at least 4 hours before serving.
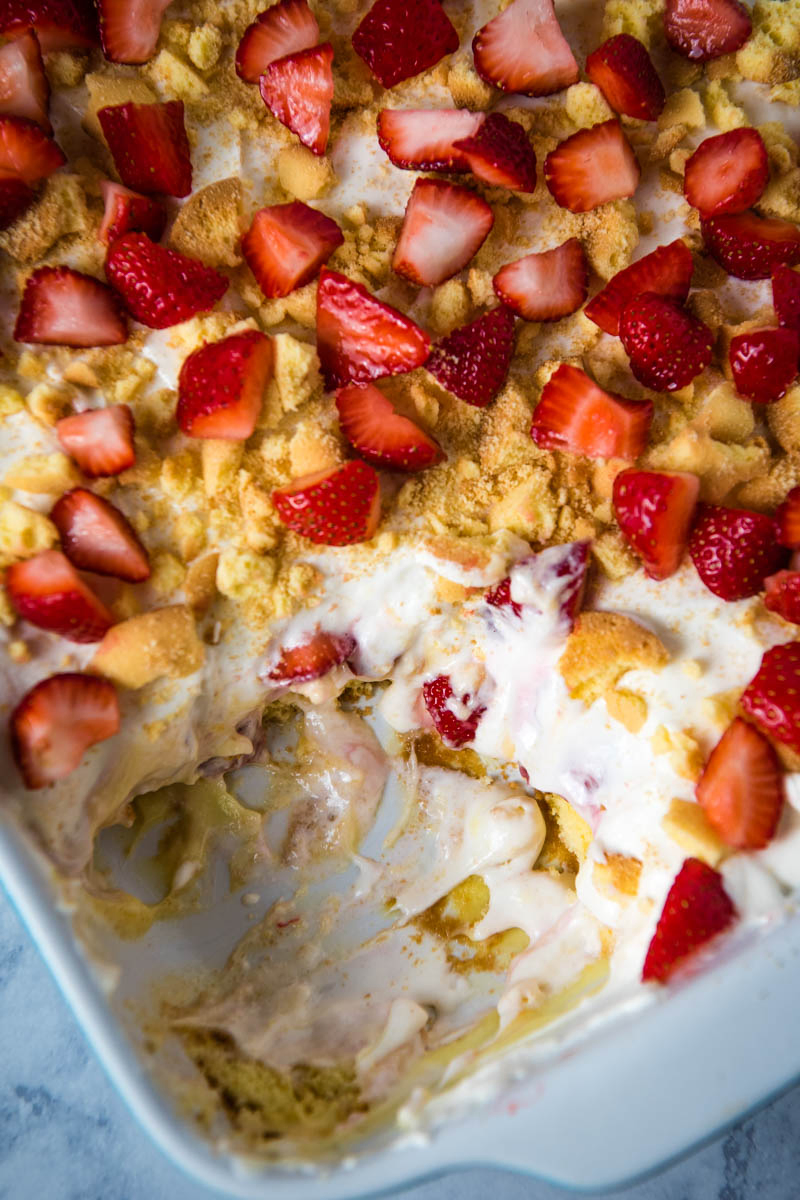
When you’re ready to serve the dessert, sprinkle chunked strawberries and crushed ‘nilla wafers all over the top of the Dream Whip cream cheese layer. You can use a food processor, but I just toss them into a gallon bag, and then crush them into small pieces and fine crumbs with a rolling pin.
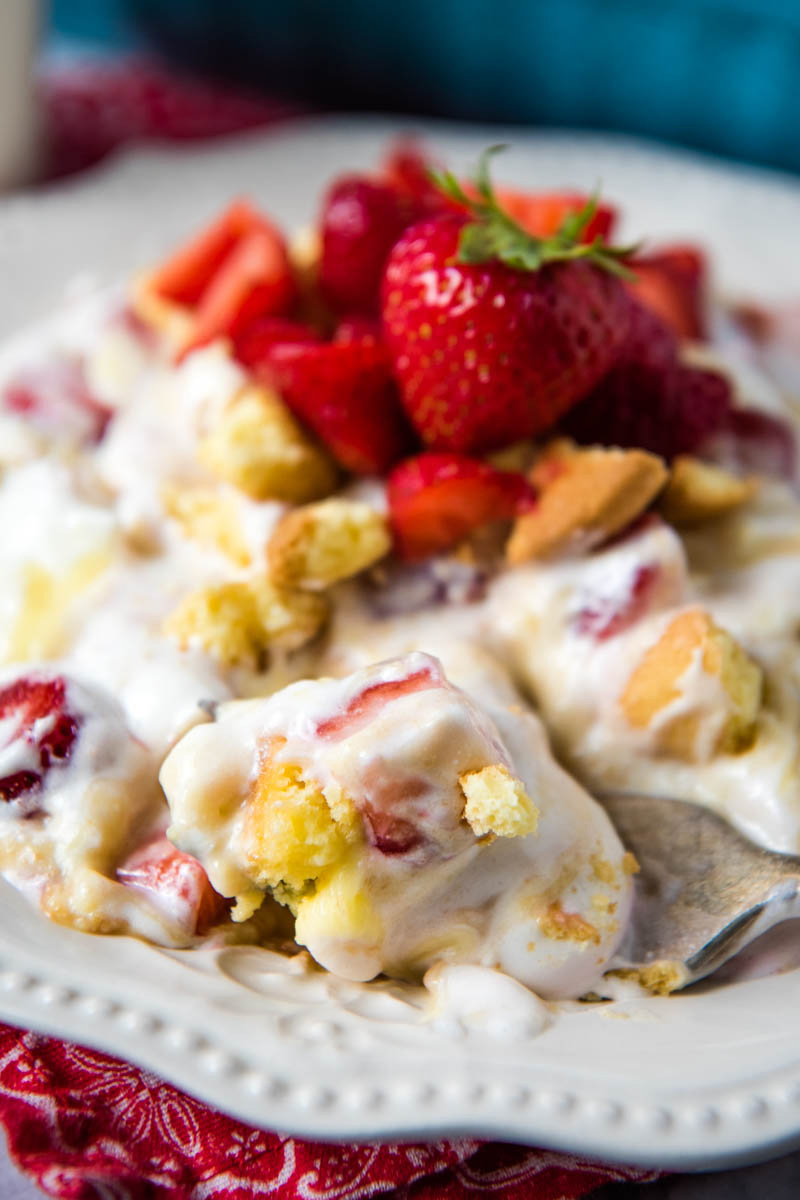
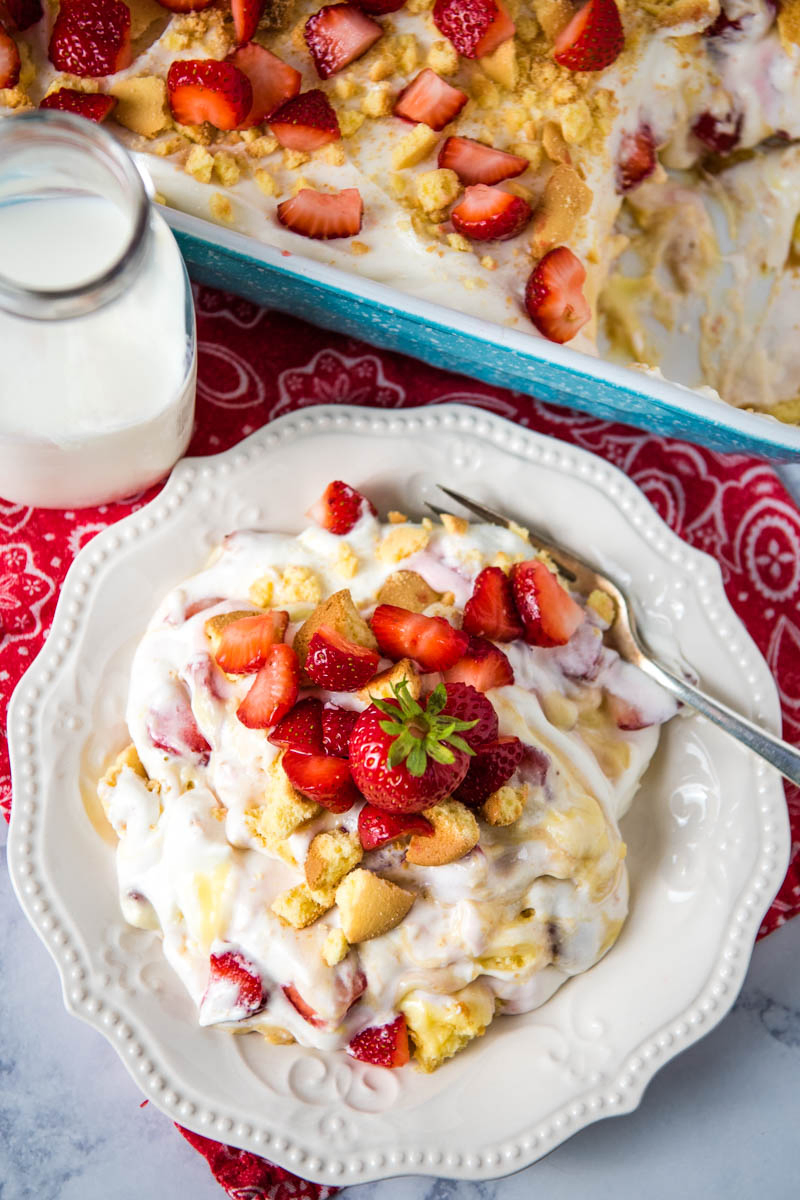
Then just scoop and serve! You can even add a dollop of whipped cream if you wish. Yum, yum, yum! I love the cool, creamy layers combined with fresh strawberries and vanilla wafers that moisten and almost taste like little bits of cake.
Recipe Variations
- Keep in mind that you can make this lush dessert with just about any fruit, including blueberries, cherries, peaches, blackberries, raspberries, bananas and more. And one of my favorite things about this is you simply just have to sprinkle the fruit onto the dessert. No need to cook or mix up a pie filling or do anything else.
- Instead of vanilla wafers, try making this recipe with graham crackers, golden Oreos, pound cake or Angel food cake.
- You can also make a regular pie crust for this no bake strawberry shortcake lush. I’m thinking a homemade graham cracker crust, my family’s favorite pecan nut crust, shortcut crust or even a regular single pie crust!
Expert Tips and Recipe FAQ’s
Yes, you can. In fact, I did by using gluten-free vanilla wafers. Be sure to check all of your other ingredient labels, including the instant pudding, just to be sure nothing has gluten.
Yes, you can make this recipe dairy free. First, you’ll need to use a dairy free whipped topping, and then you can swap out the milk with a dairy free milk alternative, like almond milk, oat milk, soy milk, coconut milk or cashew milk. You’ll also need to get a dairy free cream cheese. Finally, I recommend finding yourself a dairy free vanilla instant pudding mix. Other than that, just be sure to check all of the ingredient labels over to ensure that everything is truly dairy free.
Yes, you can make this strawberry lush cake recipe sugar free. You’ll need to find a sugar free whipped topping to substitute for the Dream Whip, like this sugar free Cool Whip. You’ll also want to find a sugar free confectioner sugar substitute for the powdered sugar. Then get yourself a sugar free vanilla instant pudding mix. Last but not least, you’ll want to find sugar free vanilla wafer cookies!
Strawberry lush stores best covered in plastic wrap or in an airtight container in the refrigerator for up to 3 days. This is actually a great recipe to make ahead, because it only gets better the longer it sets in the refrigerator!
Yes, you can freeze it. Just be sure it’s in a sealed container or covered with plastic wrap so it doesn’t get freezer burnt. It should last up to 6 months in the freezer.
More No Bake Strawberry Desserts
- Strawberry Angel Food Cake Dessert
- Strawberry Jello Cool Whip Pie
- No Bake Strawberry Delight
- Strawberry Cream Cheese Pie
- Strawberry Rice Krispie Treats
- Homemade Strawberry Ice Cream
- Strawberry Milkshake Recipe
- Strawberry Fluff
If you try this recipe, why not leave a star rating in the recipe card right below and/or a review in the comment section further down the page? I always appreciate your feedback. You can also follow me on Pinterest, Facebook, YouTube, and Instagram. And subscribe to my email list too!
No Bake Strawberry Shortcake
Equipment
- Electric Hand Mixer optional
Ingredients
For the Filling
- 1 envelope Dream Whip*
- 1/2 cup milk
- 1/2 teaspoon vanilla extract
- 8 ounces cream cheese
- 1 cup powdered sugar
- 2 – 3.4 ounce boxes instant vanilla pudding mix
- 3 1/2 cups milk
- 45 vanilla wafers whole
- 1 1/2 cups strawberries washed, hulled, and sliced
For the Topping
- 1 cup vanilla wafer crumbs*
- 1 cup strawberries washed, hulled, and chunked
Instructions
- Before getting started, be sure to get out your cream cheese ahead of time, so it can soften. You'll also need a small paring knife to slice and chunk the strawberries ahead of time.
How to Make the Whipped Topping
- Start by adding the Dream Whip, 1/2 cup of milk, and vanilla to a large mixing bowl.
- Whisk them together with an electric hand mixer, according to package directions, 'til the mixture begins to form soft peaks; it'll take about 4 minutes. You can also use an electric stand mixer for this step.
- In a separate bowl, whip up the cream cheese 'til soft and creamy. Then add both the cream cheese and the powdered sugar to the Dream Whip mixture.
- Whisk everything together for about 3 to 5 minutes, or 'til smooth and creamy.
Mixing Up the Vanilla Pudding
- Add both pudding mixes and another 3 & 1/2 cups of milk to another large bowl.
- Whisk them together for about 2 minutes, and let sit for 3 to 5 more minutes. The pudding will continue to thicken up as it sets.
Assembling the No Bake Strawberry Dessert
- Now, start assembling your no bake dessert by layering the vanilla wafers on the bottom of a 9×13 baking dish.
- Use a scraper spatula to spread the vanilla pudding over the vanilla wafers.
- Next, add a layer of sliced strawberries on top of the pudding.
- Finally, spread a final layer of Dream Whip on top of the strawberries.
- Cover with plastic wrap and refrigerate your strawberry shortcake lush for at least 4 hours before serving.
- When you're ready to serve the dessert, sprinkle the chunked strawberries and 'nilla wafer cookie crumbs* all over the top of the Dream Whip cream cheese layer.
- Then just scoop and serve! You can even add a dollop of whipped cream.
I just made this for our youth fundraiser. I actually did dessert cups instead of a pan. I also used oat milk instead of whole, 2% or skim. It turned out great!!! Thank you for sharing!!! I will continue to use the recipe, it was so easy and simple.
I love this recipe, do you have to add the pudding to it?
Kayla, you don’t technically have to use it, but this recipe wouldn’t be the same without the pudding. Is there any reason in particular that you’re wanting to remove it?
Love ❤️ the recipe
Thanks, Claudia! I’m glad you liked it.