
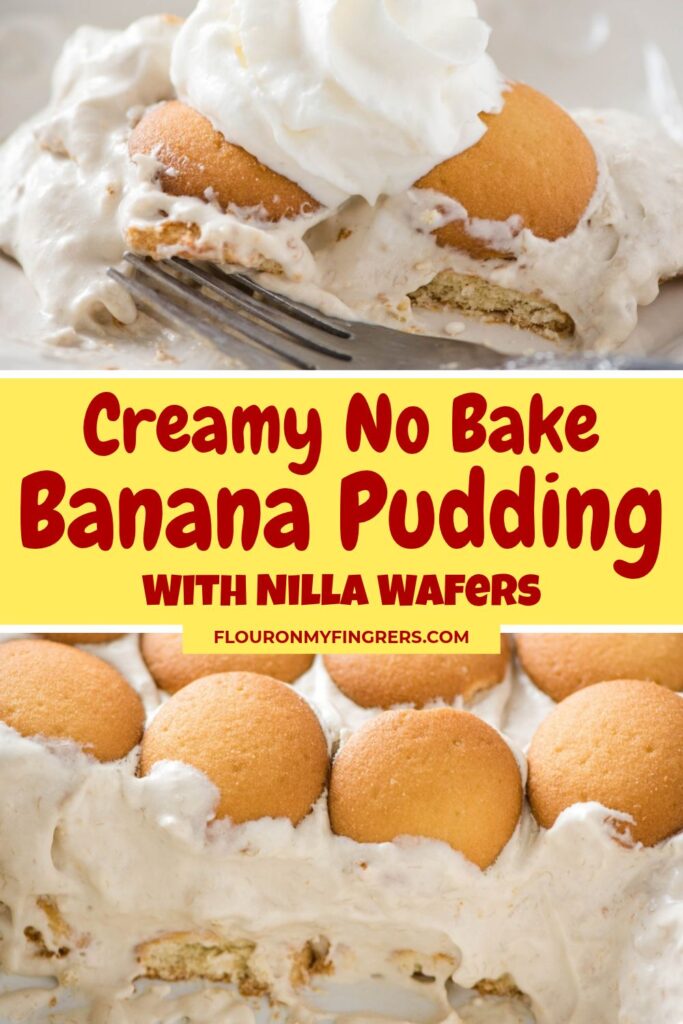
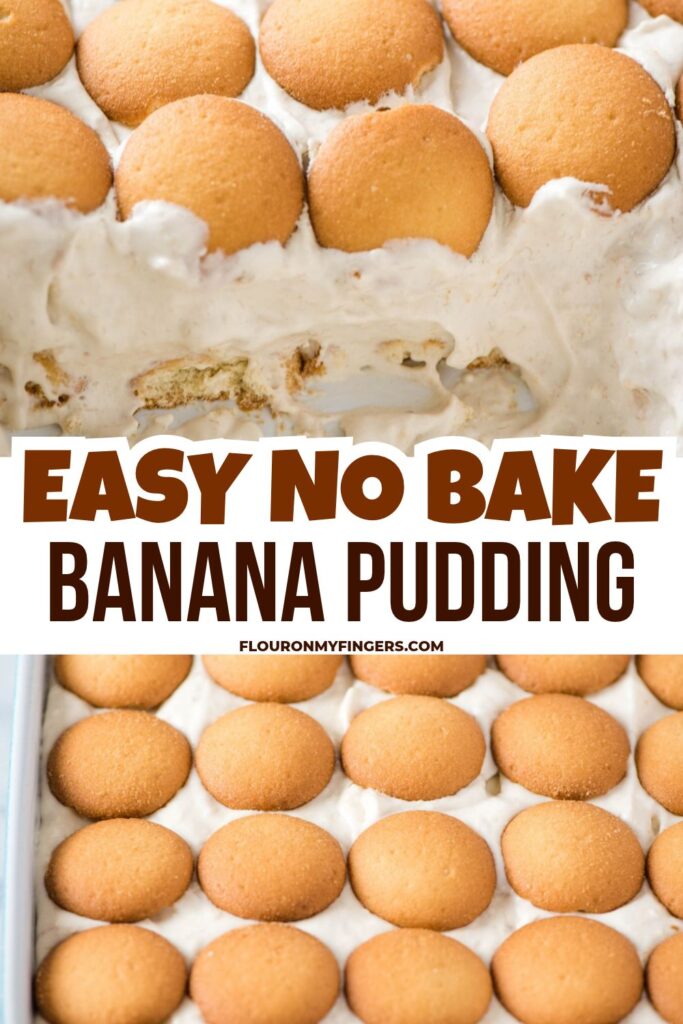
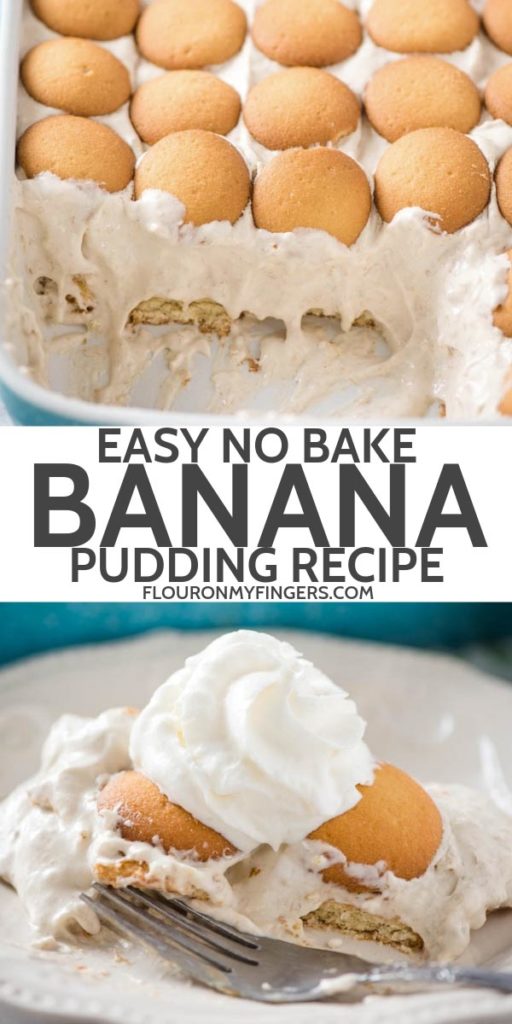
This no bake banana pudding is easy to make with cream cheese and NO condensed milk! It’s rich, creamy, and layered with vanilla pudding and crisp vanilla wafers in a 9×13 baking dish. Take it to your next potluck, or add it to the holiday dessert table this year.
My mom always made this no bake banana pudding when we were growing up; it only takes 15 minutes of prep, and she whipped mashed bananas directly into the cream cheese layer to keep them from browning. Mom’s recipe is a lot like Paula Deen’s Not Yo’ Mama’s Banana Pudding, except I don’t add sweetened condensed milk, and we use vanilla wafers instead of butter cookies. This recipe is no-cook, but I have an old-fashioned banana pudding recipe if you’d rather make a stovetop version.

⭐️⭐️⭐️⭐️⭐️ “This was delicious! It looked pretty and tasted great.”
This was delicious! My family loved it. I crushed up the wafers and dusted the top layer. It looked pretty and tasted great!
-Gina, Flour on My Fingers Reader
Ingredient Notes & Substitutions
- Bananas – Use fresh bananas for the best flavor. They don’t need to be green, but you definitely don’t want any brown spots. Many banana pudding recipes layer the bananas in between layers of cream cheese filling, but I like to mash them up and whip them directly into the filling. This way, they’re completely submerged and unable to oxidize and turn brown.
- Full-Fat Cream Cheese – Provides rich structure and stability. Let it soften to room temperature before beating to prevent a lumpy pudding mixture.
- Cool Whip – Let it thaw overnight in the refrigerator before using. Whipped cream will also work, but in my experience it can sometimes make the pudding a bit runny.
- Powdered Sugar – Adds just the right amount of sweetness to the cream cheese base without any grittiness.
- 3.4-Ounce Box Instant Vanilla Pudding – Be sure to use instant vanilla pudding mix (not cook-and-serve). French vanilla or banana cream pudding mix also works great for extra flavor.
- Whole Milk – Cold whole milk works best. Avoid lower-fat milks or plant-based milks, or else it might not set up properly.
- Vanilla Wafers – Classic Nilla Wafers give that traditional bakery-style flavor, and they soften into scrumptious cake-like layers as the dessert chills.
- Whipped Cream (Optional) – I like to add a little dollop of whipped cream on top of each serving for a decorative touch.

How to Make No Bake Banana Pudding
First, you’ll need to mix up the cream cheese filling. Then you’ll layer the pudding with vanilla wafers in a 9×13 casserole dish. It’ll need to chill for at least 4 hours, preferably overnight, and it’ll be ready to serve.
Mix Up the Filling
- Whip the cream cheese in the bowl of a stand mixer or with an electric hand mixer. Then smash the bananas and blend them into the cream cheese. This keeps them from browning.
- Mix in a whole container of Cool Whip.
- Add the powdered sugar and instant pudding mix.
- Pour the milk into the mixture, and whisk everything together well.

Layer the Pudding
- Add a layer of vanilla wafers in the bottom of a large baking dish.
- Spread a layer of pudding on top of the wafers. Save half the pudding back for the top layer.
- Scatter a second layer of vanilla wafers on top of the pudding layer.
- Add your next layer of vanilla pudding on top.

- Sprinkle a final layer of Nilla wafers on top of the pudding. Some people like to crush them up for the top, but I usually just leave them whole.

Chill & Serve
Cover your no bake banana pudding with plastic wrap, and let it chill in the refrigerator for at least 4 hours, or until the pudding has thickened and set. I like to let it chill overnight for maximum flavor.

Recipe FAQs
Yes! This banana pudding recipe does NOT use sweetened condensed milk. Instead, you can use a combination of softened cream cheese, instant vanilla pudding, milk, and Cool Whip to create a rich, stable, and ultra-creamy pudding base.
First, use fresh bananas. They don’t need to be green, but you definitely don’t want any brown spots. It also helps to mash the bananas up and whip them into the filling. This way they’re completely submerged in the cream cheese filling, and unable to oxidize and turn brown.
Runny banana pudding usually happens if lower-fat milk (like skim or almond milk) was used instead of cold whole milk. It can also happen if the cream cheese wasn’t beaten thoroughly enough before adding liquid. Additionally, ensure your Cool Whip is thawed naturally in the fridge (not microwaved) so it maintains its fluffy structure.
Cover the pudding with plastic wrap, and store it in the fridge for up to 3-4 days after making it. Around here, it usually gets gobbled up well before that point!
I don’t recommend freezing banana pudding. The filling layer will separate and become grainy after thawing out.
Optional Add-Ins & Recipe Variations
- For smaller servings, layer no bake banana pudding in a trifle dish instead of a 9×13 pan.
- Instead of Nilla wafers, use crushed up graham crackers. Ritz crackers also work well, and they add a little saltiness to balance out the sweetness.
- You can also swap the wafers for butter cookies, inspired by the original Paula Deen version of this easy dessert.
- For individual servings, layer the dessert in mason jars or plastic cups. This is a great option for parties and events.
- Drizzle a layer of warm salted caramel sauce over the filling for an extra indulgent flavor.

More Easy Banana Recipes

Easy No Bake Banana Pudding
Ingredients
- 5 bananas
- 8 ounces cream cheese
- 8 ounces Cool Whip
- 1 cup powdered sugar
- 3.4 ounces instant vanilla pudding
- 1 cup whole milk
- 16 ounces vanilla wafers
- 2 cups whipped cream optional
Instructions
- Whip up the cream cheese in a stand mixer or with an electric hand mixer.
- Smash the bananas and blend them with the already whipped cream cheese.
- Mix in a whole container of Cool Whip.
- Add the powdered sugar and instant pudding mix.
- Pour the milk into the mixture, and whisk everything together well.
- Add a layer of vanilla wafers in the bottom of a 9×13 baking dish
- Spread a layer of pudding on top of the wafers. Save half the pudding back for the top layer.
- Scatter a second layer of vanilla wafers on top of the pudding layer.
- Add your next layer of vanilla pudding on top.
- Sprinkle a final layer of Nilla wafers on top of the pudding.* Some people like to crush them up for the top, but I usually just leave them whole.
- Cover your no bake banana pudding with plastic wrap, and let it chill in the refrigerator for at least 4 hours, or until the pudding has thickened and set.
- Serve with a big dollop of whipped cream on top.

This was delicious ! My family loved it. I crushed up the wafers and dusted the top layer. It looked pretty and tasted great!
That sounds great, Gina! Thank You for the awesome feedback.
I have tried and it’s amazing.
thank you Mel Lockcuff.
Pickedforhome
Thank You!
Was delicious! Though I don’t recommend smashing the bananas because they turn black almost instantaneously. So the next day they will not be appealing. But it was really good!
Heather, that’s interesting. I’ve never had that problem with the bananas before. I’m glad you still enjoyed it!
How do I make the banana pudding using slice bananas instead of smashing them and mixing it in the pudding
Lisa, that’s a whole different recipe. You can try it with this recipe, but it’ll be much different.
I found that one cup of milk is not enough to produce a soft enough mixture to ensure the cookies soften to a cake like texture. I used about 1 3/4 cup and it was still stiff. Will use more next time.