

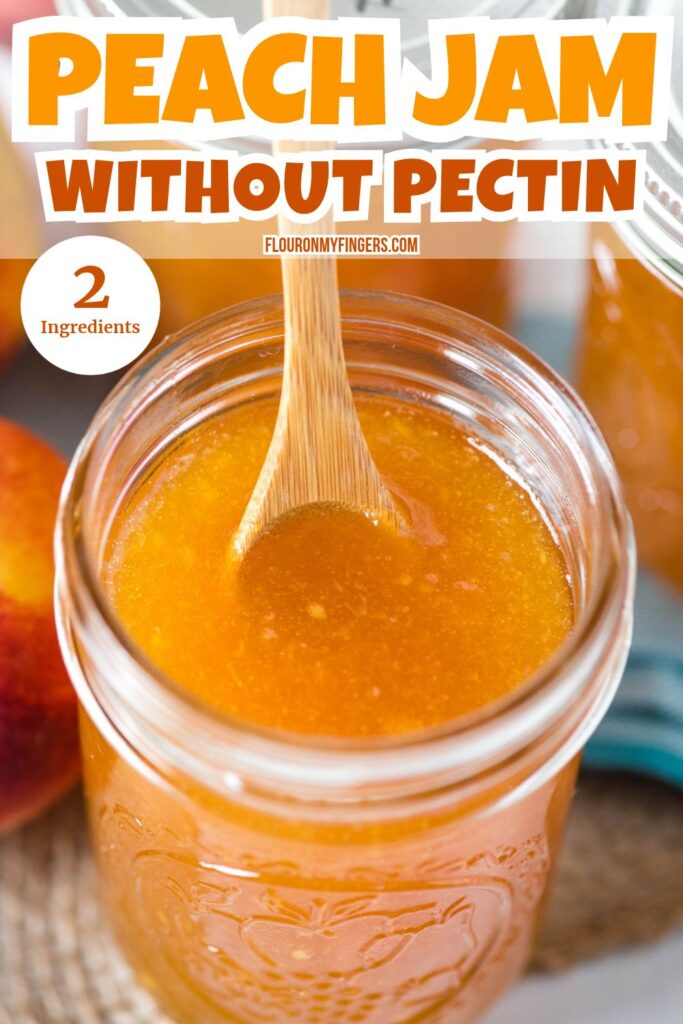
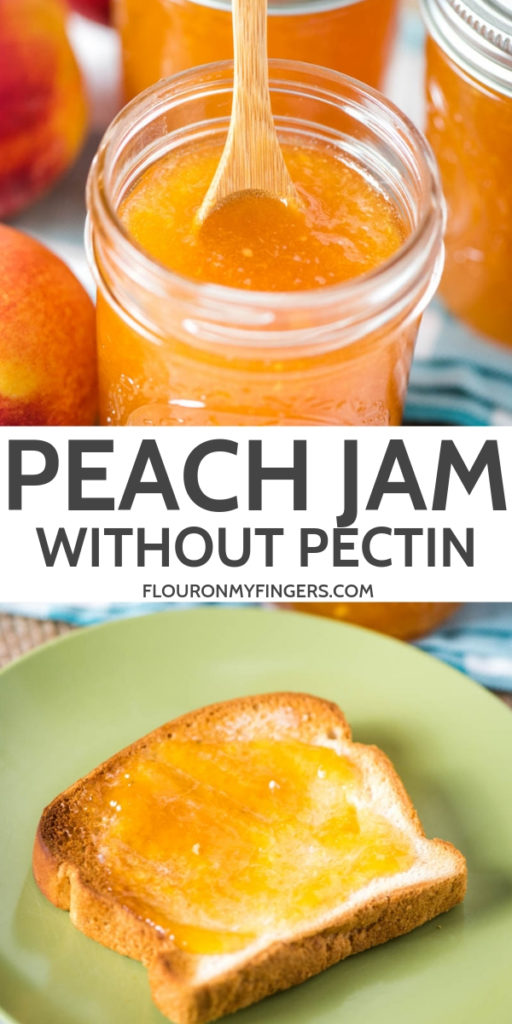
This freezer peach jam without pectin uses just 2 ingredients, and it’s adapted from my Grandma’s recipe for strawberry preserves. After 30 minutes of prep and 30 minutes on the stove, you let it rest for 6 hours in a 9×13 cake pan on your kitchen counter. With no commercial pectin needed, you can either freeze it or can it to enjoy that summer peach flavor any time of the year.
Made from pureed fresh (or frozen) peaches and cane sugar, this recipe strikes the perfect happy medium. While peach jelly is made strictly from fruit juice and peach preserves contain large chunks of fruit, my homemade peach jam is smooth and easily spreadable, while still packed with real peach preserves-like flavor in every bite.

⭐️⭐️⭐️⭐️⭐️ “Thank you for sharing your Grandmother’s recipe. It’s perfect in every way!”
“Thank you so much for sharing your Grandmother’s recipe. It’s perfect in every way! I have been canning for 40 years. I even sold my own jams and jellies at my roadside stand and at a popular local gourmet shop….I made your recipe yesterday afternoon exactly as written and I left all the skins on…no peeling. The skins disintegrated in the process and gave the jam a beautiful rich peach color….poured it into my cake pan, covered it and let it sit until this morning….It’s a beautiful and brilliant recipe!!!”
– Josie S., Flour on My Fingers Reader
Ingredient Notes (Only 2!)
- Fresh Peaches – To get the 4 cups of peaches needed for this recipe, you’ll need about 10 to 12, medium-large fresh peaches. Make sure they’re fully ripe for the best flavor. Thawed from frozen peaches work great too.
- Cane Sugar – Regular granulated sugar works too.

How to Make Freezer Peach Jam without Pectin
Prep your jars before getting started. They don’t need to be hot water sterilized to make freezer jam, but it’s good to scrub them thoroughly with hot soapy water, give them rinse and then pat them dry. I use 1/2-pint jelly jars, but you can use any freezer-safe container; just avoid narrow-necked jars where jam can get stuck and crack the jars once frozen.
Pureeing the Peaches
- Wash the peaches, remove the skin, slice them in half, and remove the pits. Peeling them is optional, but I don’t really like the skin in my jam.
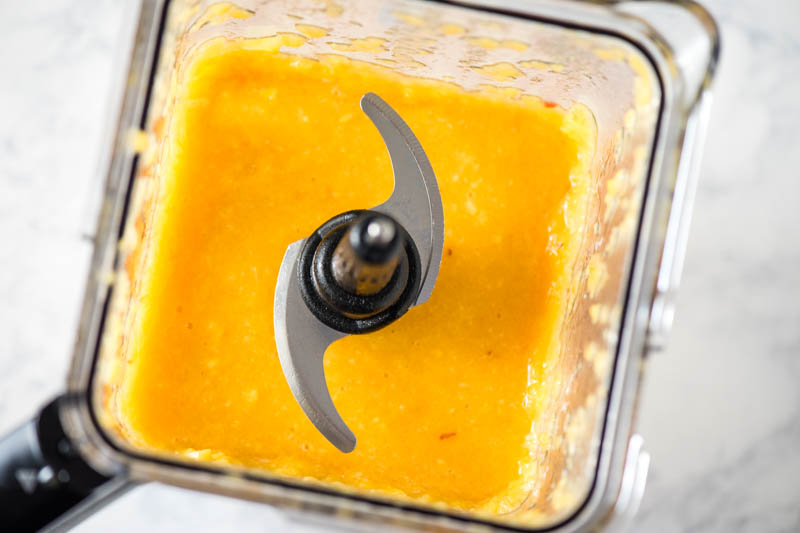
- Puree your peaches in a blender, or mash them up with a potato masher if you don’t have a blender. They should resemble a fairly thin pulp.
Cooking It Down
- Combine a cup of peaches and a cup of sugar in a tall large stock pot, so the mixture doesn’t boil over when it foams up.
- Bring to a boil, stirring constantly. Boil for 4 minutes while still stirring until the sugar is totally dissolved.
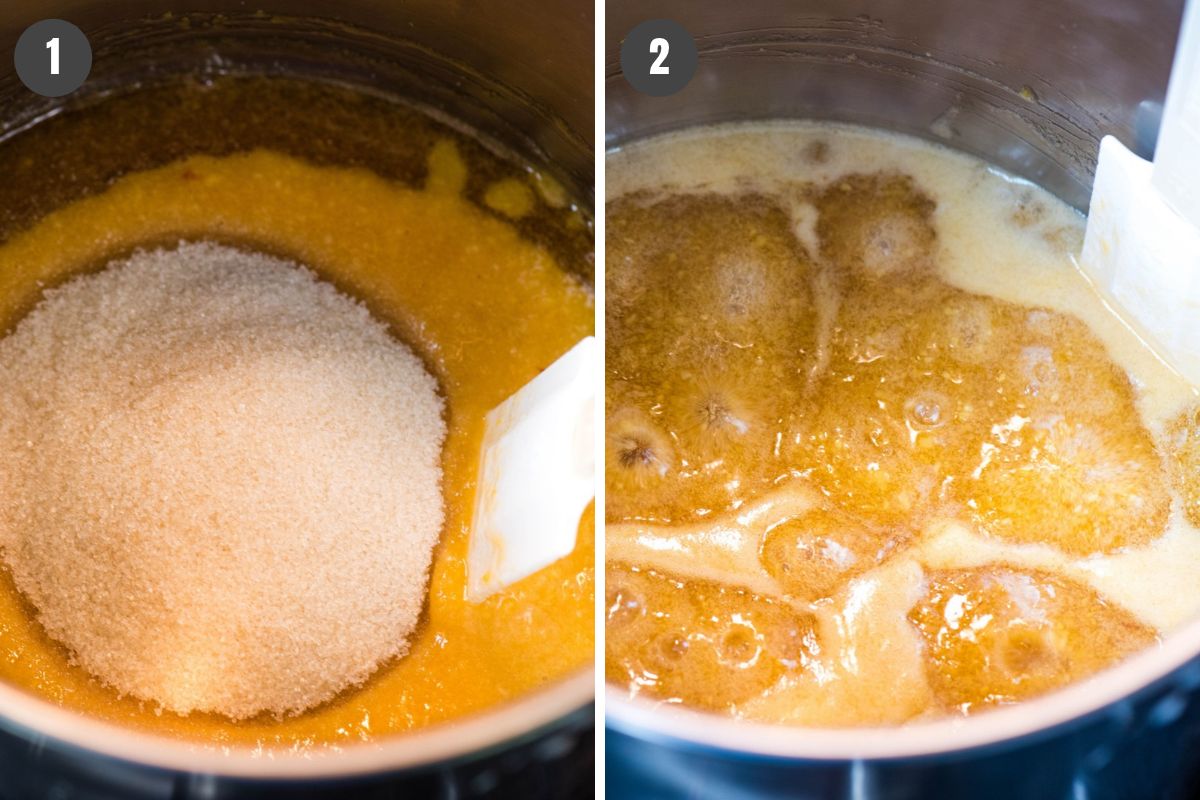
- Repeat this process 3 more times, adding the remaining peaches and sugar in stages to keep the pot boiling.
- Addition 2: Add 1 cup peaches + 1 cup sugar. Boil and stir constantly for 4 minutes.
- Addition 3: Add 1 cup peaches + 1 cup sugar. Boil and stir constantly for 4 minutes.
- Addition 4 (Final): Add the remaining 1 cups peaches + final 1 cup sugar. Boil and stir constantly for 4 minutes.
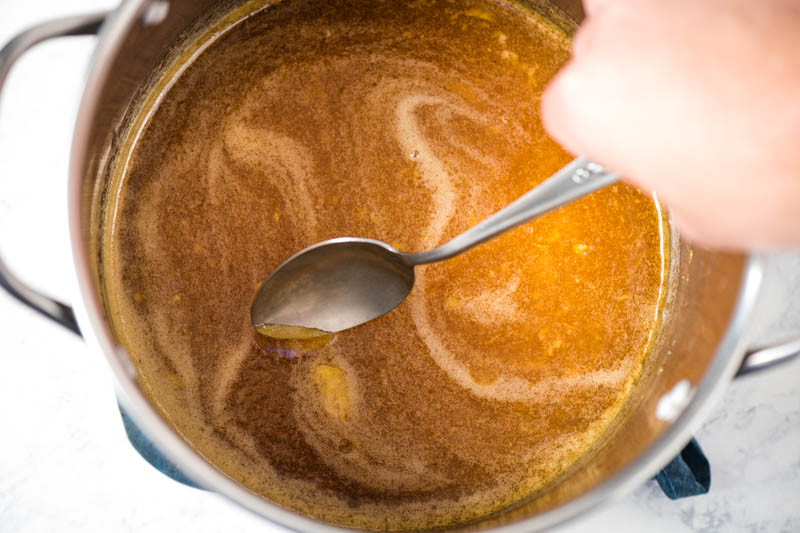
- Remove the mixture from the stovetop once you’ve cooked down all of the peach puree and sugar. Let it rest for a few minutes, and then skim off any foam that forms on top.
Thickening Peach Jam Without Pectin
Pour the jam mixture into a 9×13 cake pan. It will be runny at this point, resembling a thin peach syrup rather than peach jam, but that’s okay. Cover with plastic wrap, and let it sit 6-12 hours at room temp to set and jell. Grandma’s recipe suggests 12 hours, but mine was ready in 6.

After about 6 hours, the thickness will begin to resemble peach jam. It feels like magic, but it’s actually a combination of the natural pectin in the peaches and the cooling process that thickens peach jam without commercial pectin.
Freezing Peach Jam Without Pectin
- Pour the jam into each prepared jar using a jar funnel, leaving about a 1/2-inch gap at the top of each jar to allow for expansion. I used my cupcake scoop, but a ladle works great too.
- Wipe the top rim of each jar with a wet towel or rag, place the lid on, and tighten the band. Add a label with the name and date, or just write it with a Sharpie on top the lid.

Serving Homemade Peach Jam
Serve your peach jam on a buttered slice of toasted bread. You can also enjoy it on homemade biscuits, crescent rolls, a fat stack of fluffy pancakes, or in a warm bowl of morning oatmeal. It also makes a great vanilla ice cream topping, or you can place a small ramekin of peach jam on a charcuterie board to pair with sharp cheeses and summer sausage.
How to Can Peach Jam Without Pectin
Many readers over the years have successfully water-bath canned this recipe! You’ll need to wash and sterilize your jars, rings, and lids before making the jam (use hot soapy water or the sterilization setting on your dishwasher). Pour your jam it into jelly jars immediately after the stove time, and then straight to the water bath canner.
Because you won’t be letting it gel up in the cake pan before canning, make sure the cooked mixture reaches its natural gel point before taking it off the heat and filling your jars. You can test this using a candy thermometer; peach jam naturally sets when it reaches 220°F (104°C) at sea level, but this varies by altitude. For standard processing times and altitude adjustments, follow the guidelines from the National Center for Home Food Preservation.
Recipe FAQs
Yes, you can leave the skin on when making peach jam. In fact, that’ll add even more natural pectin to your jam. I do recommend pureeing peaches with the skin-on, so the skin gets blended up into a smooth pulp for a better texture later on.
You can use half-pint jars, pint jars, or really any size freezer-safe mason jar. You can also use any freezer-safe plastic container; the shape really doesn’t matter, so long as the neck isn’t too narrow. When using glass, just be sure to leave about 1/2-inch headspace to give the jam room to expand without cracking the glass.
Adding the peaches and sugar 1 cup at a time keeps the pot at a continuous boil for long enough to dissolve the sugar. If you dumped everything in at once, the bottom of the pan would scorch before the sugar has dissolved throughout the entire mixture.
When you first remove the jam from the stove, it’s normal for it to be a thin, syrup-like consistency. No-pectin jam requires a slow cooling process to gel. Once you pour it into a shallow pan and let it sit at room temperature for several hours, the natural fruit pectin will bind and thicken the jam into a rich, spreadable consistency.
Stored in airtight, freezer-safe containers, this freezer peach jam will stay fresh in the freezer for up to 12 months. Once thawed and kept in the refrigerator, enjoy it within 2-3 weeks.

More Peach Recipes
If you love peach jam, check out these delicious peach recipes:
- Dad’s Peach Ice Cream Recipe
- Gluten-Free Peach Crisp
- Bisquick Peach Cobbler in a Cast Iron Skillet
- 5-Ingredient Peach Dump Cake Recipe
If you try this recipe, why not leave a star rating in the recipe card right below and/or a review in the comment section further down the page? I always appreciate your feedback. You can also follow me on Pinterest, Facebook, YouTube, and Instagram. And subscribe to my email list too!

Freezer Peach Jam Without Pectin
Equipment
- blender or potato masher
- Jar Labels optional
Ingredients
- 4 1/3 cups fresh peach puree from 10-12, medium-large fresh peaches
- 4 cups pure cane sugar
Instructions
- Prep your jars and lids before getting started. Scrub them thoroughly with hot soapy water, give them rinse and then pat them dry.
- Wash the peaches, remove the skin*, slice them in half, and remove the pits. Peeling them is optional, but I don’t really like the skin in my jam.
- Puree your peaches in a blender, or mash them up with a potato masher if you don’t have a blender. They should resemble a fairly thin pulp.
- Combine a cup of peaches and a cup of sugar in a tall large stock pot, so the mixture doesn’t boil over when it foams up.
- Bring to a boil, stirring constantly. Boil for 4 minutes while still stirring until the sugar is totally dissolved.
- Repeat this process 3 more times, adding the remaining peaches and sugar in stages to keep the pot boiling. You'll add the final 1 1/3 cups peach puree and the final cup of sugar the last time.*
- Remove the mixture from the stovetop once you’ve cooked down all of the peach puree and sugar. Let it rest for a few minutes, and then skim off any foam that forms on top.
- Note: Your jam will seem more like syrup at this point. Please don’t be discouraged, because it works a little bit like magic from here on.
- Pour into a 9×13 cake pan and cover with plastic wrap. Let it sit 6-12 hours at room temp to set and jell.*
- Decide whether you want to can* or freeze the jam. The following instructions are for freezing.
How to Freeze Peach Jam:
- Using a jar funnel, pour the jam into each prepared jar. I used a cupcake scoop, but a ladle works too.
- Be sure to leave about a 1/2-inch gap at the top of each jar to allow for expansion in the freezer.
- Wipe the top of each jar with a wet towel or rag, place the lid on, and tighten the band.
- Before you put your jam in the freezer, be sure to write what it is and the year on the lid, so you know when you made it.
Video

Notes
- Addition 2: Add 1 cup peaches + 1 cup sugar. Boil and stir constantly for 4 minutes (same as the first stage).
- Addition 3: Add 1 cup peaches + 1 cup sugar. Boil and stir constantly for 4 minutes.
- Addition 4 (Final): Add the remaining 1 13 cups peaches + final 1 cup sugar. Boil and stir constantly for 4 minutes.

Ginger and peach together? Absolute fire | bold, bright, and just a little mischievous. I sometimes sneak in cinnamon and vanilla for that cozy twist, then wake it all up with a hit of fresh lemon zest. It’s my little trick to keep the sugar from stealing the show.
I’m confused do you cook each batch separately or do you keep adding next batches to first batch to the first boiling batch
Hey Debbie, I am unsure as to what you are meaning. If you are asking about steps 3-4 on the recipe card, then there are no separate batches. You are essentially just staggering out the peaches and the sugar instead of adding it all at once, letting each addition boil for 3-4 minutes before adding more. This is to make sure that the sugar gets fully dissolved by the time all of it is added. I hope this helps!