
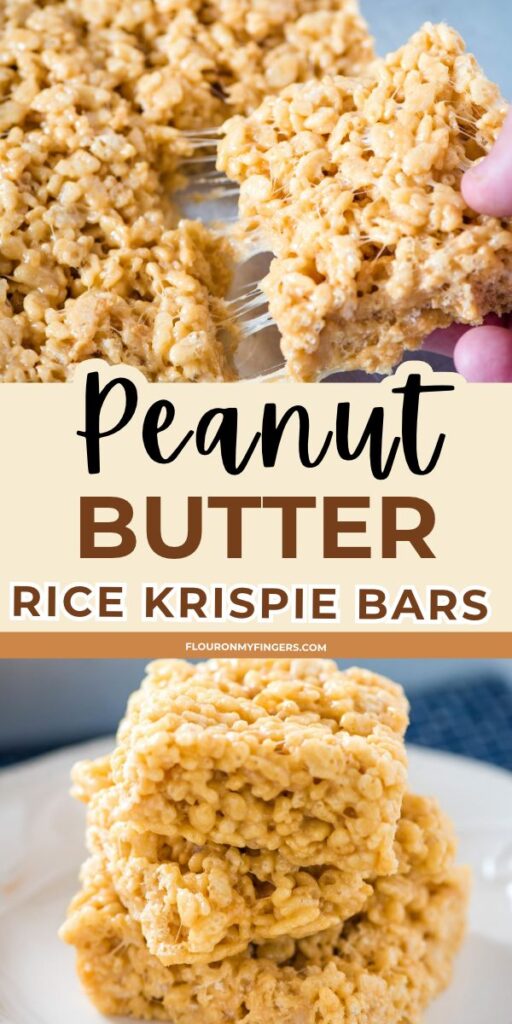
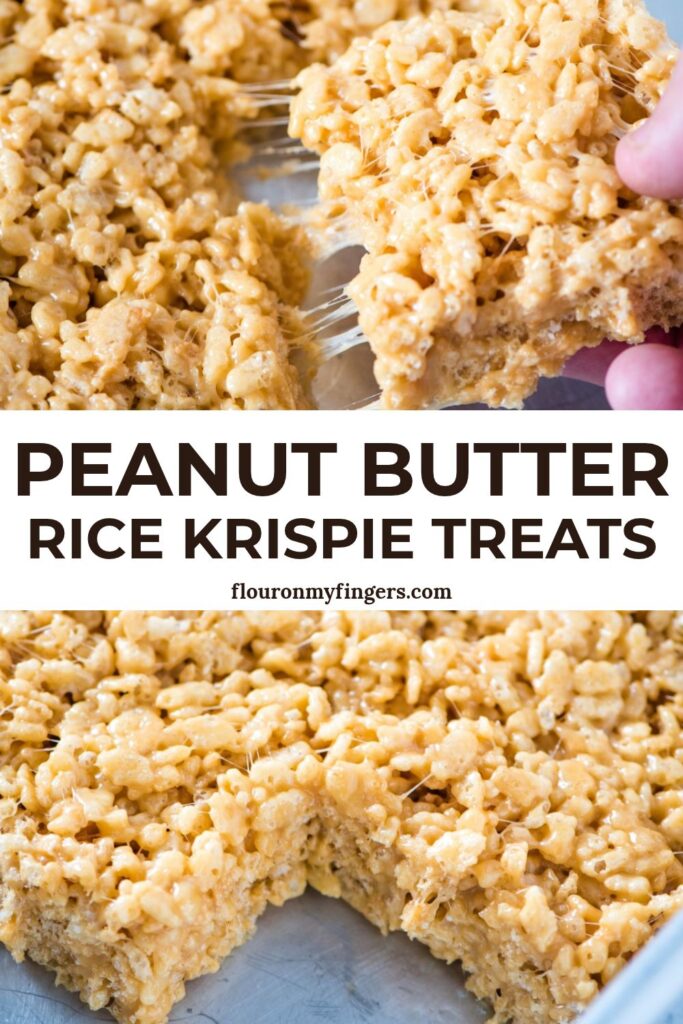
These gooey peanut butter Rice Krispie treats stay soft and chewy long after slicing into squares. These easy Rice Krispie bars are no bake with just 20 minutes on the stovetop. With 6 everyday ingredients, they’re easy for kids and so much fun to make!
If you’ve ever made classic Rice Krispie treats, this peanut butter version isn’t much different. It’s the same process, with the addition of creamy peanut butter for extra gooeyness and a rich, nutty flavor. My kids always loved old-fashioned peanut butter Rice Krispie treats for after-school snacks, and this was always one of our absolute favorites!

⭐️⭐️⭐️⭐️⭐️ “So delicious….Everyone wants the recipe!”
“Ooh so delicious..everyone who tries these when I make them wants the recipe. I have to have self control or I’ll eat the whole pan!!!”
-Rachael, Flour on My Fingers reader
Ingredient Notes & Substitutions
- Salted Butter – You can also use margarine, but I do recommend butter. But adds so much richness in flavor, and in my experience it keeps the treats softer than margarine does.
- Vanilla Extract – It’s a subtle touch, but vanilla enhances the peanut butter & butter flavor.
- Sea Salt – Just a little bit to cut through the sweetness.
- Mini Marshmallows – Fresh marshmallows are best for soft Rice Krispie treats. You can also use big marshmallows, but it’ll take longer to melt them down.
- Creamy Peanut Butter – Regular creamy peanut butter is best (like Jif or Skippy). Avoid oily, all-natural peanut butters because the oil will separate and make greasy, crumbly treats.
- Rice Krispies Cereal – Check the date on your box, and make sure it’s not stale. You can make this recipe gluten free with a gluten free crispy rice cereal.

How to Make Peanut Butter Rice Krispie Treats
Before getting started, spray a 9×13 baking dish with nonstick cooking spray.
Making Rice Krispie Treats on the Stovetop
- Melt the butter in a large sauce pan or Dutch oven over low to medium heat on the stovetop.
- Add in the vanilla extract, salt, and mini marshmallows. Heat and stir the mixture until the marshmallows have completely melted.
- Remove from the heat, and stir in the peanut butter.
- Stir in the crispy rice cereal once the peanut butter is melted and fully stirred into the marshmallow mixture.

Spread the peanut butter and Rice Krispie treats into your baking dish, and gently press them down. Let them cool completely before slicing into squares and serving. It helps to spray your hands with nonstick cooking spray beforehand so that the cereal mixture doesn’t stick.
Let them cool completely before slicing into squares and serving. I can usually slice mine after about 30 minutes.
Tips for Soft Rice Krispie Treats
While standard Rice Krispie treats can start to dry out and harden up after a couple of days, the moisture and fat from the peanut butter helps keep these ones soft for longer. Here are some other tips so that you can keep yours fresh as long as possible:
- Use Fresh Ingredients: Stale cereal or expired marshmallows will result in a hard, tough Rice Krispie treat. Always use fresh, soft marshmallows and a fresh box of crisp rice cereal so that your treats don’t get hard.
- Marshmallow-to-Cereal Ratio: Don’t skimp on the marshmallows! Melted marshmallows are what hold these Rice Krispie squares together, and a generous amount ensures every piece of cereal is completely coated and held together with gooey goodness.
- Melt Over Low Heat: Slow and steady wins the race. If they start to scorch or cook too hard, the melted marshmallows will harden up rock-solid once they’re mixed with the cereal.
- Gently Press into the Pan: Do not pack or press the Rice Krispies down tightly in your baking pan. Gently press the mixture into an even layer using lightly buttered hands or a piece of wax paper. You want to keep some of those air pockets in tact for a light, airy bar.
- Store Properly (The Bread Trick): Keep your treats in an airtight container at room temperature, with wax paper or parchment paper in between each layer. An old-time trick my mom taught me is to place a single slice of bread inside the container alongside the treats. The cereal bars will absorb moisture from the bread, keeping them soft and fresh!
- A Note on Sweetened Condensed Milk: Some people like to stir a little bit of sweetened condensed milk into the melted marshmallow mixture to add extra softness. While I haven’t tested it yet, heating on low and pressing gently will yield perfectly soft treats every time.

Optional Add-Ins & Recipe Variations
- Chocolate Chips & Candies: Fold in semi-sweet chocolate chips, mini peanut butter cups, or Reese’s Pieces at the end with the crisp rice cereal. (Pro tip: Let the mixture cool for a minute or two before stirring in chocolate chips so they don’t completely melt!)
- Sweet Chocolate Drizzle: Drizzle melted milk chocolate, semi-sweet chocolate or white chocolate over the top of the sliced squares before serving for a bakery-style finish.
- Extra Crunch: Stir in salted peanuts or chopped honey-roasted peanuts for more sweet-and-salty contrast.
Recipe FAQs
Yes, you can make them in the microwave. While I haven’t tested peanut butter Rice Krispie treats specifically in the microwave, I recommend following my microwave Rice Krispie treats recipe, stirring the peanut butter into the melted marshmallows right before you add the Rice Krispies cereal.
Store leftover treats at room temperature in an airtight container or a heavy-duty zip-loc bag. If you are stacking the squares, place a sheet of wax paper or parchment paper between the layers so they don’t stick together. A piece of bread placed in the container will help to keep the treats soft! They are best enjoyed within the first 2 to 3 days, but will stay fresh for up to 3 to 5 days. Do not store them in the refrigerator, as cold air dries out cereal treats and makes them rock-hard.
Yes, you can freeze them for up to 6 weeks! Layer the cut squares in a freezer-safe, airtight container or freezer bag with wax paper or parchment paper between each layer to prevent sticking. When you’re ready to enjoy them, set them out at room temperature for at least 30 minutes to thaw completely before serving.

More Rice Krispie Treats
If you liked these old-fashioned peanut butter marshmallow Rice Krispie treats, you’ll love these other variations. They’re jjust as quick, gooey and easy to whip up!
- Chocolate Peanut Butter Rice Krispie Treats
- Chocolate Rice Krispie Treats
- Strawberry Rice Krispie Treats
- Pink Rice Krispie Treats
- Frankenstein Rice Krispie Treats
If you try this recipe, why not leave a star rating in the recipe card right below and/or a review in the comment section further down the page? I always appreciate your feedback. You can also follow me on Pinterest, Facebook, YouTube, and Instagram. And subscribe to my email list too!

Gooey Peanut Butter Rice Krispie Treats (Soft & Chewy)
Equipment
- Dutch Oven or large saucepan
Ingredients
- 5 tablespoons salted butter
- 1 teaspoon vanilla extract
- 1/4 teaspoon salt
- 6 cups mini marshmallows
- 1/2 cup creamy peanut butter
- 6 cups Rice Krispies cereal
Instructions
- Before getting started, spray a 9×13 baking dish with nonstick cooking spray.
- Melt the butter in a large sauce pan or Dutch oven over low to medium heat on the stovetop.
- Add in the vanilla extract, salt, and mini marshmallows. Heat and stir the mixture until the marshmallows have completely melted.
- Remove from the heat, and stir in the peanut butter.
- Stir in the crispy rice cereal once the peanut butter is melted and fully stirred into the marshmallow mixture.
- Spread the peanut butter and Rice Krispie treats into your baking dish, and gently press them down.*
- Once they've cooled completely, cut into Rice Krispie squares and serve!
Video


Great peanut butter rice krispie treats!! I would definitely recommend these!!
Is this recipe gluten free?
These are so yummy!! A nice change from the traditional treats.
Can I add green food coloring to this recipe to make the Frankenstein ones?
Hey Laurie, I can’t see why not! Give it a try, and let me know how it turns out!
Mine are rock solid, i don’t know what did i do wrong?
There’s a few reasons that could happen. For one, Rice Krispies treats should be soft immediately after making them, but they do normally get hard after 2-3 days. It’s also important that you use fresh ingredients. Marshmallows especially can get stale and hard over time. They won’t melt down properly, and then they’ll make rock hard Rice Krispie treats. You also want to make sure you use enough marshmallows, usually slightly more than the amount of Rice Krispies you use. Those are just a few tips that I can give you without knowing more….I hope it helps!
I’ve had that happen, turned out I had pressed my Rice Krispie mixture down too hard into the pan resulting in hard treats, you just need to lightly press them down. Hope this helps.
Thanks for the tip!
I made these and made homemade peanut butter frosting for the top of them …. And they are wonderful 🥰
Trina, that sounds delicious! I bet these would go great with peanut butter frosting.
I’ve always put PB in with butter an marshmallows.. seems to mix better an get all on Krispies… An I use JIF PB … YUMYUMFERMYTUMTUM!!!
That sounds delicious, Dolores! Thanks for sharing.
I make these all the time. I use three cups of rice krispie and three cups of cocoa pebbles and they are a huge hit with the family and partys. I would like to know how much of the big marshmallows to use. I only used the little ones.
Harper, I’ve always used minis, so I can’t say for sure how much to substitute, but my recommendation would be to weigh out 6 cups of mini marshmallows, and match that weight with the big marshmallows. This would be more accurate than matching volume. The weight is also usually specified on the bag. For example, it may say on the bag that 1 cup of marshmallows, big and small, weighs X amount. With some quick math, you can easily figure up how many more of the big marshmallows you should use to match that weight. I hope this helps!
Just made these. I added a cup of chocolate chips with the peanut butter and if my taste test (AKA licking the spoon) is any indication, they are yummy! I doubt they will last long. Thanks for posting the recipe!
Thank You for the kind review, Susie!
I always use cocoa pebbles in mine. Love the peanut butter and chocolate!
That’s such a great idea, Elaine! I’m going to have to try this myself. Thanks for the feedback!
Ooh so delicious..everyone who tries these when I make them wants the recipie.I have to have self control or I’ll eat the whole pan!!!
Haha, they are pretty good!