
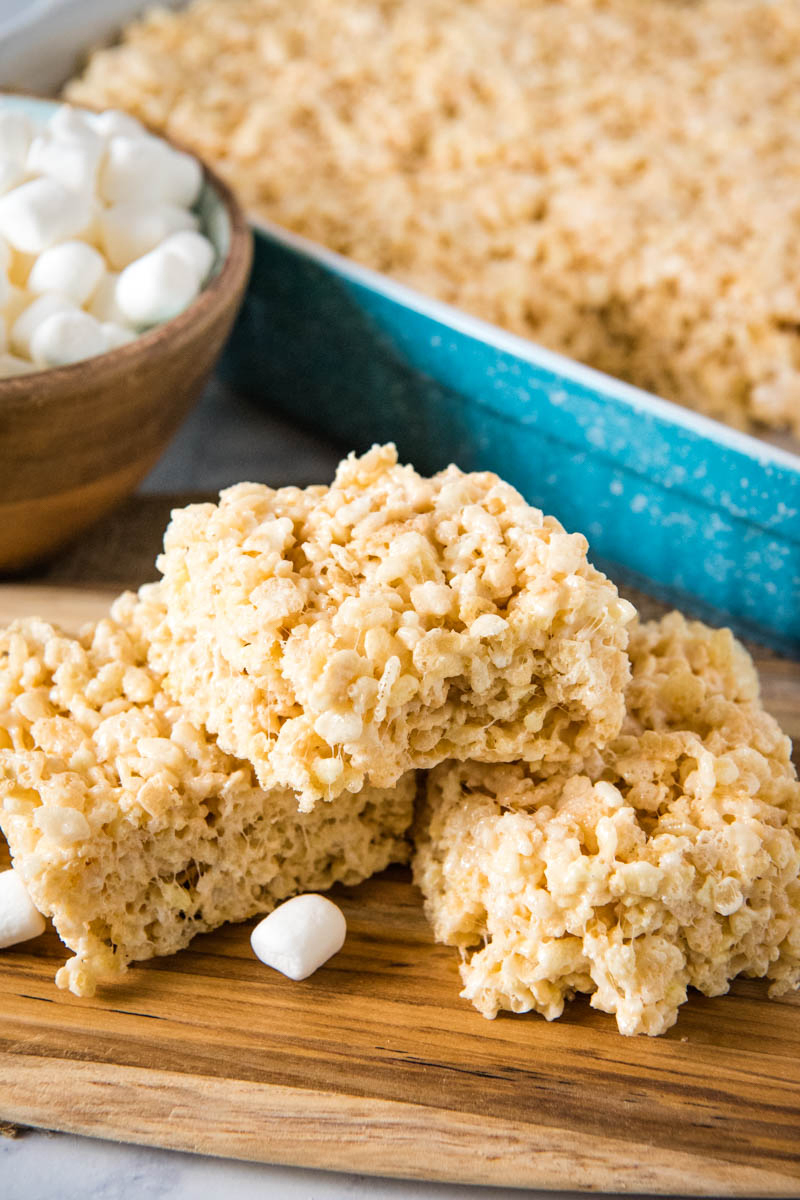
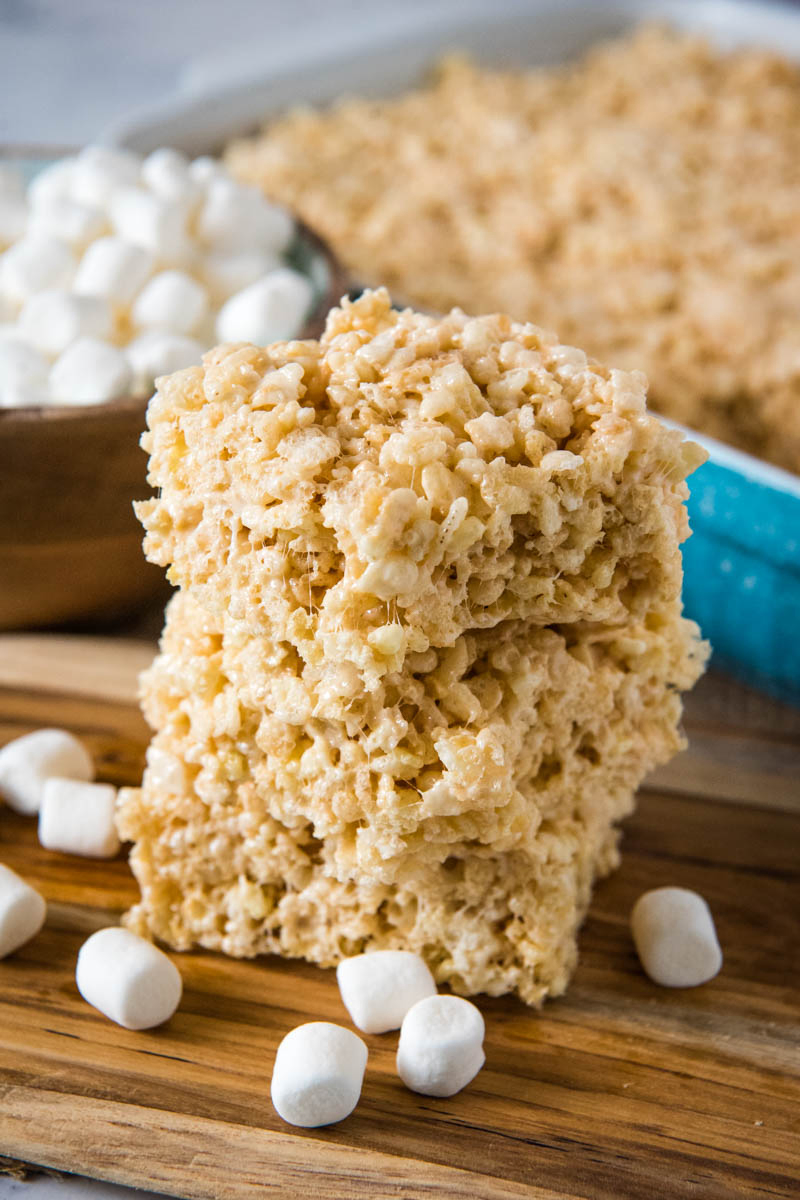
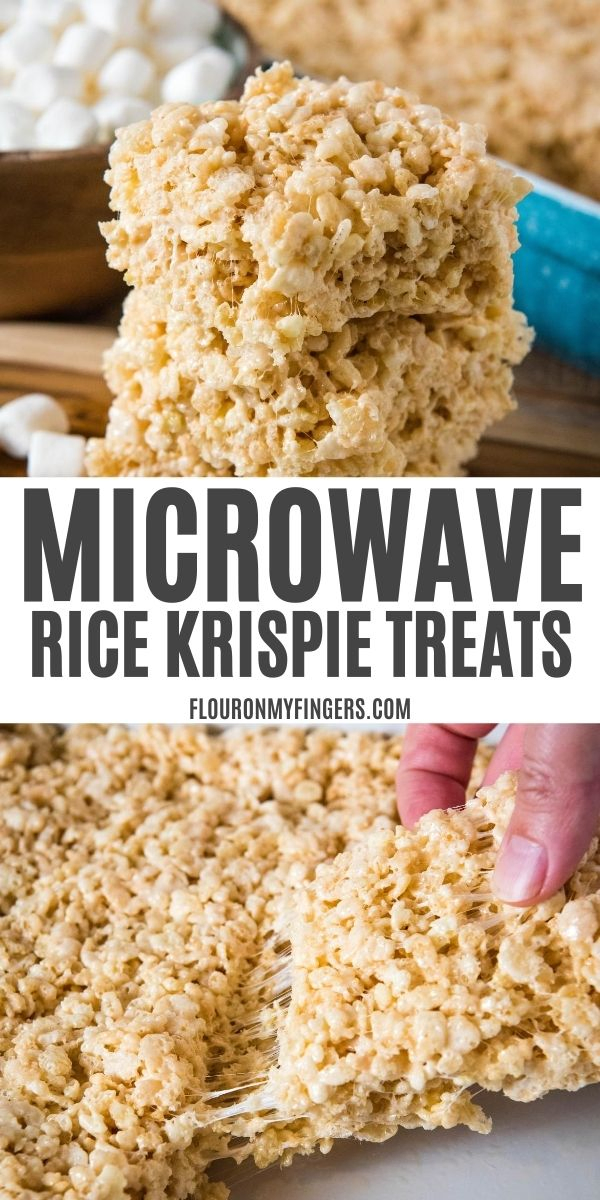
How to make the best microwave Rice Krispie treats in just 5 minutes. Easy recipe for perfect marshmallow treats with no stove time!
Rice Krispie treats are normally very easy to make. But throw in the microwave and take away stove time, and now they’re even easier and quicker to make.
We make microwave marshmallow treats the same way with similar ingredients, just in the microwave. They’re a one bowl dessert, kinda like a one pot meal.
Instead of a Dutch oven or pan, you’ll need a large microwave safe bowl big enough for Rice Krispie treats but small enough to fit in your microwave.
Personally, I don’t know why I haven’t made them this way before. It saves so much time, and microwave Rice Krispies taste just the same.
If you love microwave rice crispy treats as much as I do, you’ll love our peanut butter marshmallow treats too, or even these easy no bake chocolate peanut butter Rice Krispie treats!
WHERE CAN I FIND THE ACTUAL RECIPE CARD?
If you’d rather skip all of my treat making tips, important info for this recipe, and similar recipe ideas – and get straight to the microwave Rice Krispies treat recipe – just scroll down to the bottom, where you’ll find a printable recipe card.
INGREDIENTS YOU’LL NEED:
- Salted butter – Make sure you use salted butter over margarine. Butter will give your marshmallow treats a richer flavor and texture.
- Mini marshmallows
- Vanilla extract – This is my favorite kind of vanilla. I’ve recently been able to order it from Leos Imports, as well.
- Salt
- Rice Krispies cereal – I prefer to use Aldi’s brand because it’s labeled gluten-free.
Remember, all of the ingredient amounts you’ll need are in the printable recipe card below.
KITCHEN TOOLS AND EQUIPMENT YOU’LL NEED:
Heat-Resistant Spatula – This one is my go to spatula.
HOW TO MAKE MICROWAVE RICE KRISPIE TREATS
Before you get started, prepare your baking pan by spraying it well with cooking spray. This will keep your treats from sticking to the pan.
Making microwave Rice Krispie squares is a fairly quick process, so be sure to gather and measure your ingredients beforehand.
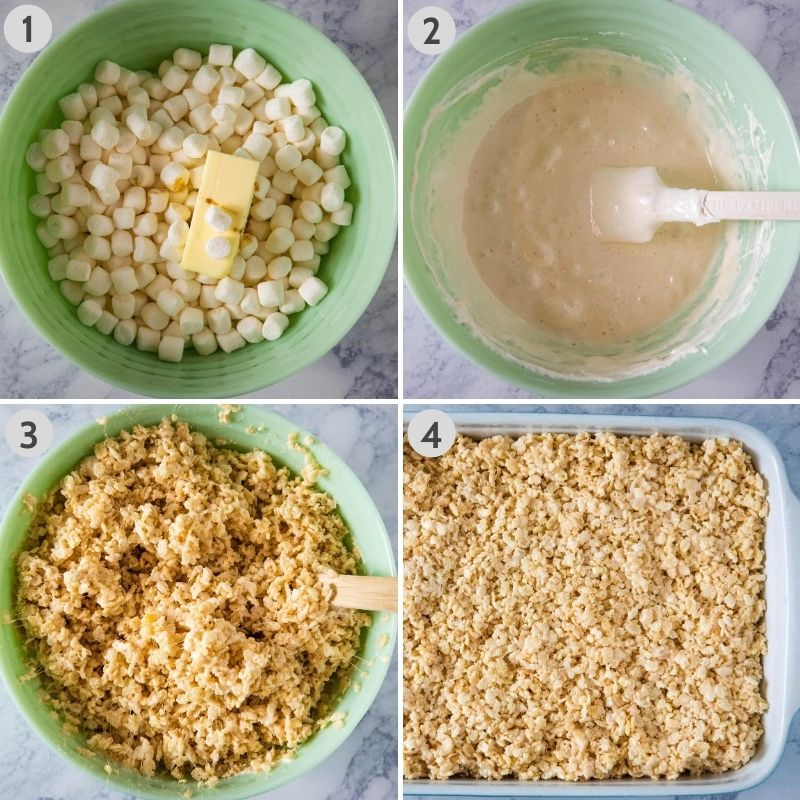
- Add the butter, mini marshmallows, vanilla extract, and salt to a large microwave safe bowl, and heat on high for 2 minutes, mostly melting the marshmallows and butter.
- Remove the bowl from the microwave, and stir until smooth.
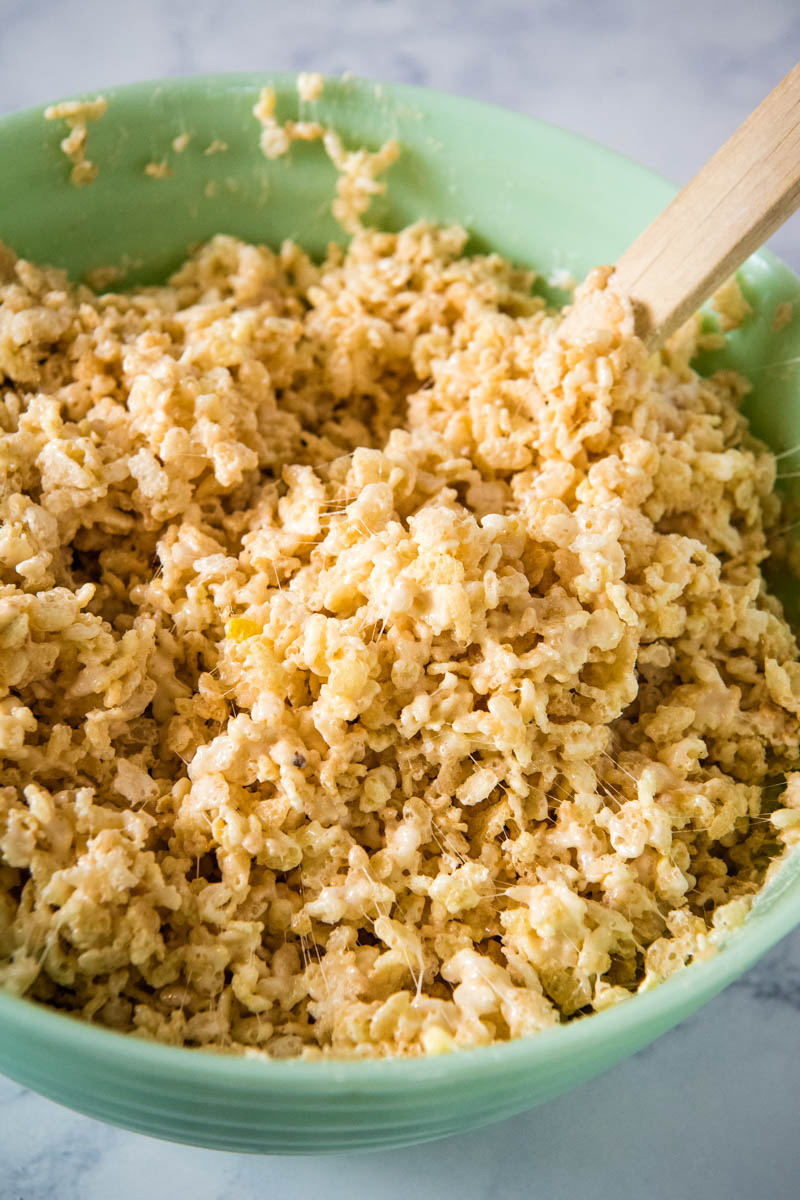
- Quickly stir the cereal into the marshmallow mixture.
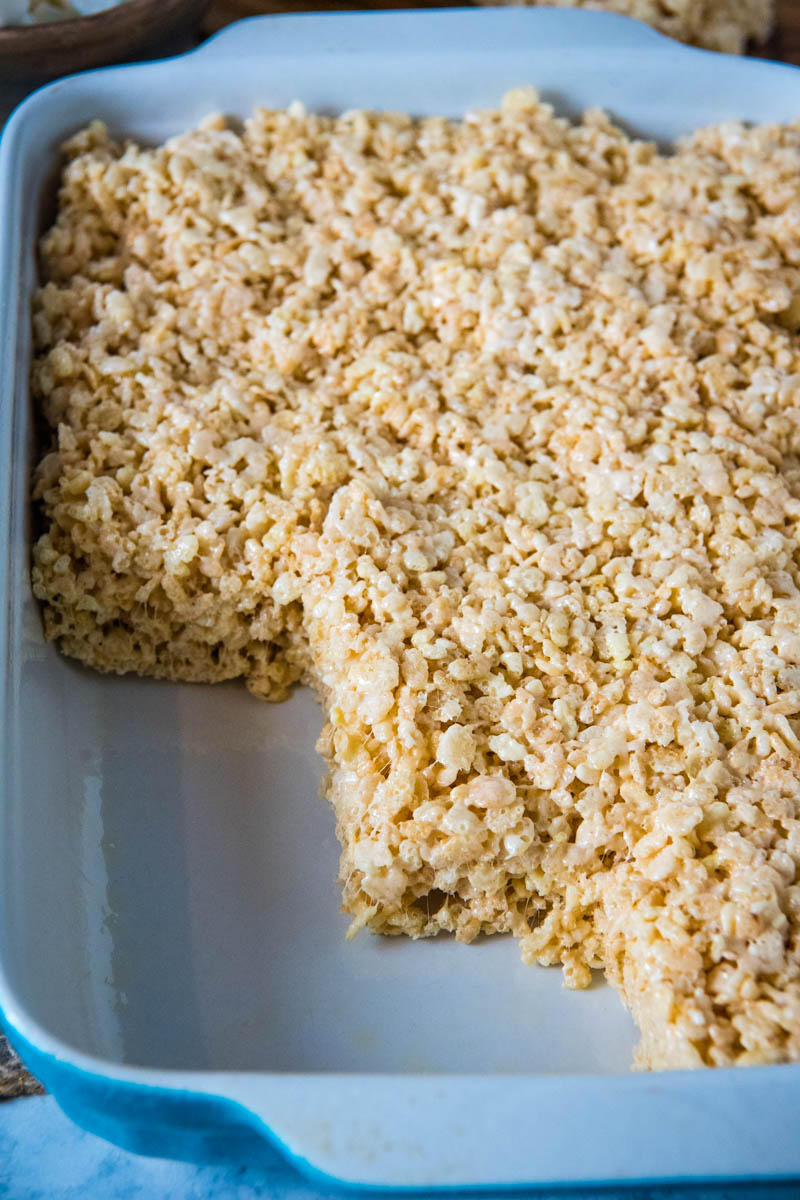
- Lightly press the mixture into your prepared 9×13 baking dish, and allow the mixture to cool.
TIP: You can keep the sticky treats from sticking to your hands by wetting your hands just a bit with water, or spray your hands with cooking spray before pressing them into the pan.
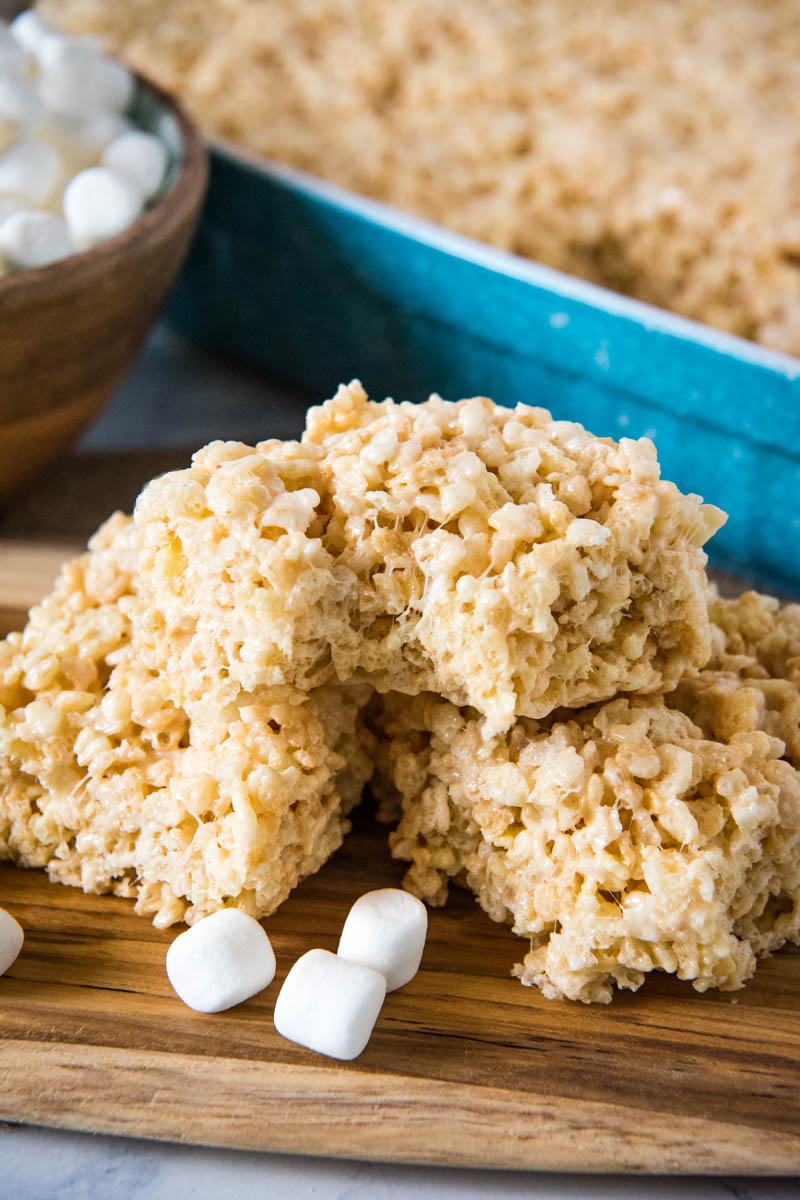
Once your treats have cooled enough to handle, you can cut them into squares and serve.

WHY ARE MY RICE CRISPY TREATS NOT STICKING TOGETHER?
This can happen when…
- The recipe calls for too much butter…
- Or too many marshmallows.
- The treats haven’t completely cooled; they’re liable to be stickier and quicker to fall apart while warm.
Use exact ingredients, and allow them to cool, and your Rice Krispie squares will form and meld together quite nicely.
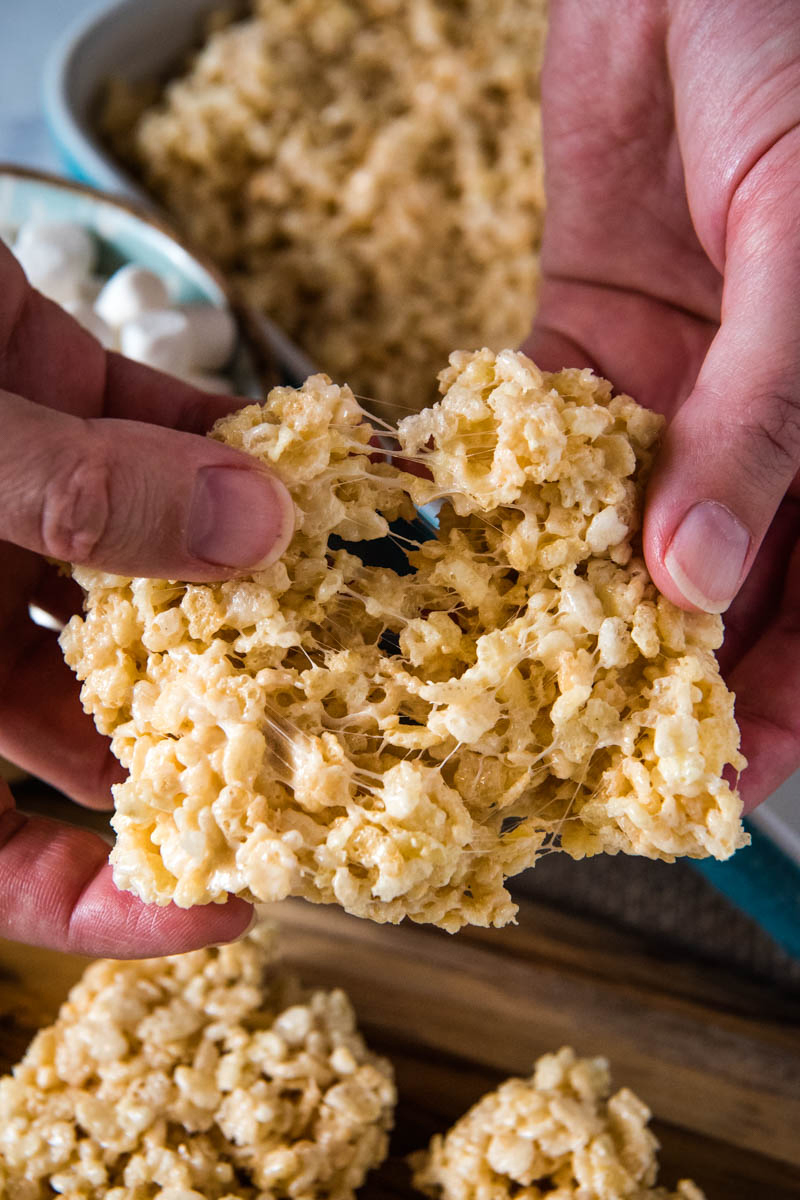
HOW TO SOFTEN MICROWAVE RICE CRISPY TREATS
After 2 or 3 days, microwave marshmallow Rice Krispie treats will start to harden up and become extra chewy or rock solid.
Here are a few ways to ensure that you have the softest but chewiest treats possible:
- Use fresh ingredients, namely marshmallows and cereal.
- When cooking the marshmallow mixture, don’t overdo it. Cook ’til the butter and marshmallows are just about melted; then remove the dish from the microwave, and stir to finish melting the mixture. 2 minutes is just about right.
- Use a bit more cereal than marshmallows; we like to use 8 cups cereal to 6 cups mini marshmallows. This will give you a soft, chewy treat.
- When you go to spread your treats in the pan, don’t just pack them down. Gently pat them down evenly and smoothly, and let them go at that.
- And finally, store your Rice Krispie treats properly, which brings me to my next point…
HOW TO STORE MICROWAVE RICE KRISPIES
It’s important to store your treats in an airtight container or sealed plastic bag.
Microwave rice crispy treats are best eaten within the first 2 or 3 days, while they’re still nice and soft.
CREATIVE ADD-INS AND SUBSTITUTIONS FOR MICROWAVE MARSHMALLOW TREATS
Rice Krispie bars are so versatile; here are a few ideas with ways to dress up your homemade treats.
- If you need a dairy-free option, try using the same amount of coconut oil in place of the butter.
- Substitute Fruity Pebbles or Cocoa Pebbles (or Chocolate Rice Krispies) for part or all of the cereal.
- Top your finished treats with chocolate topping, using melted chocolate.
- Drizzle the treats with melted white chocolate.
- Mix things in… For instance, chocolate chips, Reese’s Pieces, peanut butter cups, M&M’s, freeze-dried strawberries, candy corn, chopped up Cadbury Mini Eggs, crushed sandwich cookies, etc.
- Mix peanuts or other favorite kinds of nuts into the mixture for a sweet and salty flavor.
- Add sprinkles on top (or mix them in with the cereal).
MORE RECIPES WITH RICE KRISPIES CEREAL:
Pink Rice Krispie treats are perfect for Valentine’s Day, baby showers, treats on a stick, and more!
Add delicious strawberry flavor to these strawberry Rice Krispie treats (they’re my favorite).
If you’re a chocolate lover like I am, you’ll love these chocolate rice crispy treats.
Celebrating with a Halloween party? These Frankenstein rice crispy treats make a great last minute treat!
CAN YOU FREEZE RICE KRISPIE TREATS?
You can if you need to. And then get them out with at least half an hour to thaw before serving.
Be sure when freezing them, though, that you again store them in an airtight container or freezer bag. And you might even put wax paper or parchment paper between the layers of treats so they don’t stick together.
GET THE PRINTABLE RECIPE
If you love this scrumptious recipe as much as I do, please write a 5 star review, and help me share the recipe on Facebook and Pinterest!
CRAVING MORE DELICIOUS RECIPES? Subscribe to my newsletter and follow along on Pinterest, Facebook, YouTube, and Instagram for all the latest updates!

Microwave Rice Krispie Treats in 5 Minutes
Equipment
- DOWAN Porcelain Mixing Bowls Set, Nesting Bowls, Oven/Microwave Safe, 4.25/2/0.5 Qt, Blue
- Anolon Bronze Nonstick Baking Pan With Lid, Rectangle – 9 Inch x 13 Inch, Brown
- La Vencedora Pure Mexican Vanilla Extract 31oz Each 2 Glass Bottles
- BakingWorld Mouse Cookie Cutter Set – 11pcs – Stainless Steel
- Kellogg’s Rice Krispies Treats, Crispy Marshmallow Squares, Variety Pack, with Writable Wrappers, 12.4oz Box (16 Count)
- Popcorn Shaper – Make Rice Krispie Treats, Popcorn Cubes, Blocks, & More!
Ingredients
- 5 tablespoons salted butter
- 6 cups mini marshmallows
- 1 teaspoon vanilla extract
- 1/4 teaspoon salt
- 8 cups Rice Krispies cereal*
Instructions
- Before you get started, prepare your baking pan by spraying it well with cooking spray. This will keep your treats from sticking to the pan.
- Add the butter, mini marshmallows, vanilla extract, and salt to a large microwave safe bowl, and heat on high for 2 minutes, mostly melting the marshmallows and butter.
- Remove the bowl from the microwave, and stir until smooth.
- Quickly stir the cereal into the marshmallow mixture.
- Lightly press* the mixture into your prepared 9×13 baking dish, and allow the mixture to cool.
- Once your treats have cooled enough to handle, you can cut them into squares and serve.
Notes
- Use fresh ingredients, namely marshmallows and cereal.
- When cooking the marshmallow mixture, don’t overdo it. Cook ’til the butter and marshmallows are just about melted; then remove the dish from the microwave, and stir to finish melting the mixture. 2 minutes is just about right.
- Use a bit more cereal than marshmallows; we like to use 8 cups cereal to 6 cups mini marshmallows. This will give you a soft, chewy treat.
- When you go to spread your treats in the pan, don’t just pack them down. Gently pat them down evenly and smoothly, and let them go at that.
- And finally, store your Rice Krispie treats properly, which brings me to my next point…